Routour🗼: Building the Ultimate Travel Router
Published:
I wanted a small, portable travel router that I could easily take with me whenever I travel. My main requirements were that it had to be lightweight, compact, and capable of connecting to existing Wi-Fi networks while acting as an intermediate, controlled access point for my devices. To address this need, I recently completed Routour🗼, a powerful yet compact travel router built around the Raspberry Pi Compute Module 4 (CM4), an Intel BE200 Wi-Fi card, the DeskPi Mini Cube, and RaspAP running on Debian. The entire setup can even be powered by a small power bank, making it ideal for travel.
In this post, I’m documenting the entire journey because I believe it may help someone attempting a similar project in the future. This includes the hardware modifications, software configuration, and various challenges involved in building a feature-rich yet highly portable network router.

Features
 Let’s start with the features first.
- Full router functionalities with dual-band (2.4GHz and 5GHz) with gigabit ethernet
- WiFi repeater capabilities (WiFi Client mode and AP mode at once)
- Ability to host VPN, adblocking, and Tailscale
- Ability to run media servers and other containers with Docker
- Efficient on power consumption (less than 10W)
- Smallest possible size
Hardware Part of the Story
For this build, I wanted the smallest form factor possible while still meeting all of my requirements. To achieve that, I opted for a collection of standalone components with a few hardware modifications along the way.
In this section, I’ll go over the components I chose for the project and the modifications I made to them. That said, if you’d rather avoid hardware modifications altogether, feel free to swap out components based on your own preferences and requirements. The overall design is flexible enough to accommodate different hardware choices while still achieving similar results.
Components
- Processing Unit : Raspberry Pi CM4 board without onboard wifi. Since the Raspberry Pi onboard wifi is not powerful enough, we will be using a separate wifi module. Therefore, opting for the CM4 without onboard wifi will save some power.
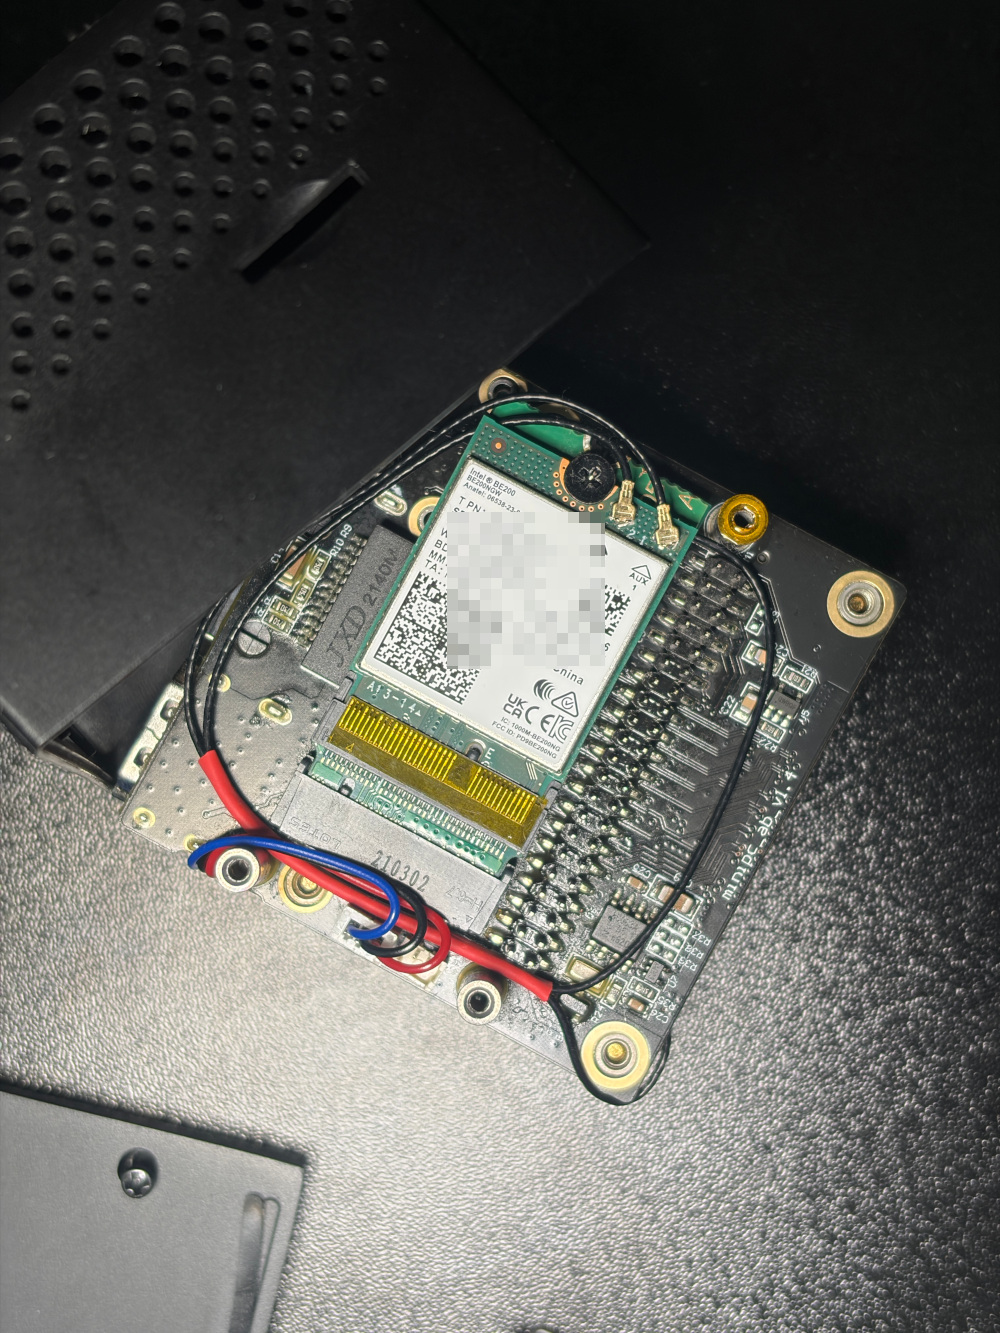
- Wifi Module : Intel BE200NGW dual band wifi card
- Case and Motherboard: GeeekPi DeskPi Mini Cube which has Gigabit ethernet and M.2 M-Key PCI-E interface.
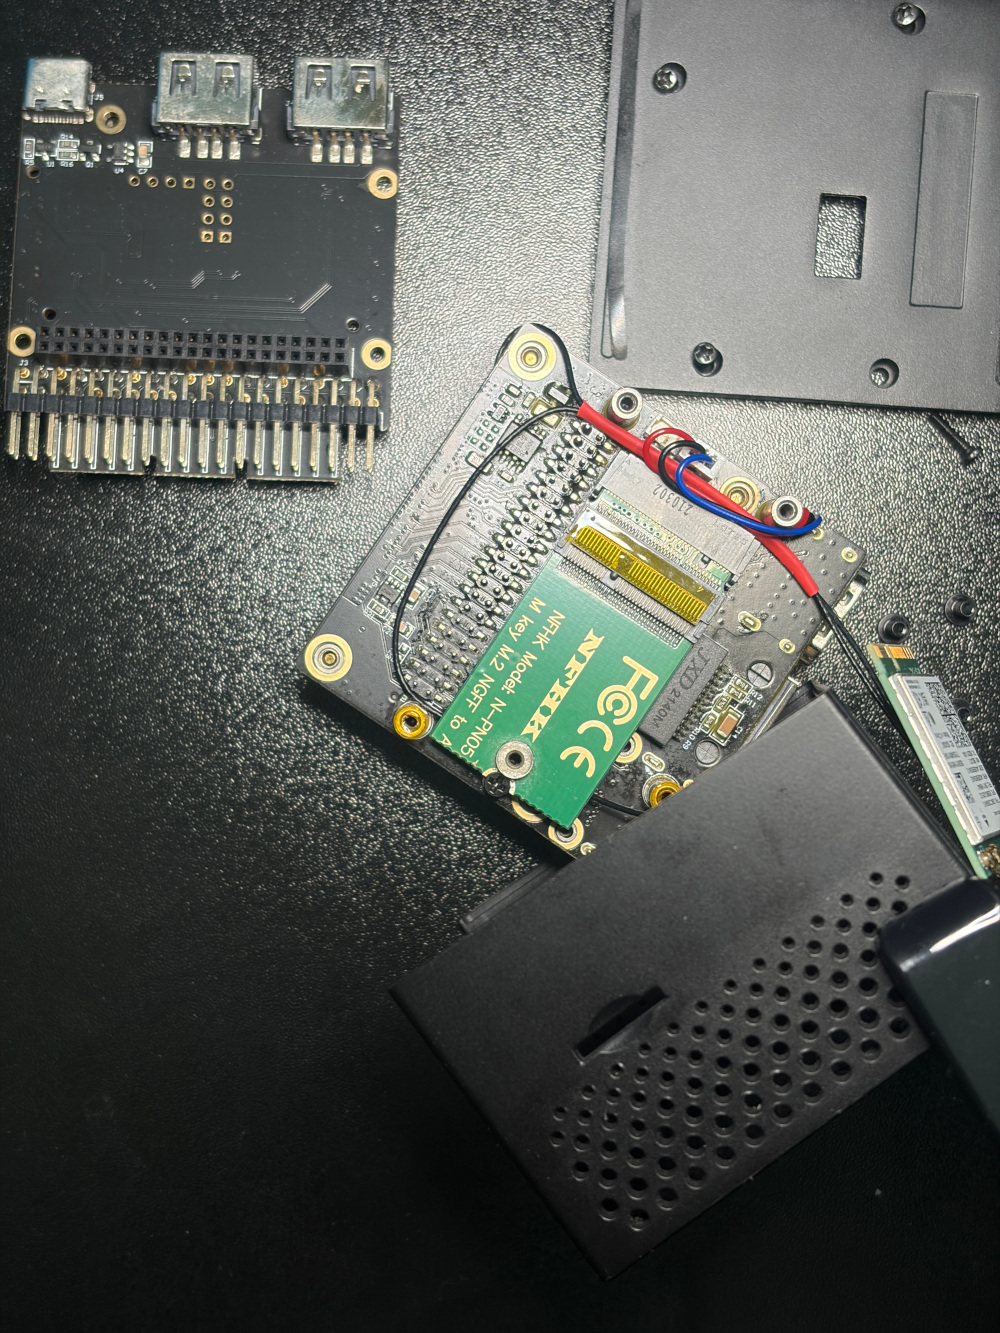
- Adaptor Card: Since our Motherboard only has a M.2 M-Key Slot, we have to convert this to M.2 E-Key Slot so that we can use our wifi card. (Search terms
NGFF PCI express to E key slot Adapterand the model number of the card that I used isN-PN05).
Modifications
For the CM4 I had a low-spec one lying around that I bought for a previous experiment which had 1GB RAM and 8GB EMMC. Since I wanted the Docker support, I upgraded the RAM and EMMC to 8GB and 128GB respectively (Yes, it is a tedious process that requires a lot of patience. If you are interested in more details, you can read about it from here). GeeekPi Mini Cube is packed very much within a very tiny space. For this reason, the adaptor card and the wifi module do not fit within the available space without modifying M.2 M-Key Slot on the motherboard. I had to desolder the original M.2 connector, which was 8.5MM in height, to a connector with 6.5MM. Then I had to find a suitable pair of antennas with dual-band support. Note that BE200 antenna connections use MHF4 connectors, not UHF. Other than that, no major changes were required.
Soft(Firm)ware Part of the Story
I think this is the most important part of the building process for several reasons. I could not find good enough documentation to make everything work as I wanted. So after a lot of trial and error, I found the configurations that supported all the features that I wanted.
- Debian Bookworm (64bit) without GUI
- RaspAP is a powerful platform that supports all the fancy features that I wanted from my router.
- Intel BE200 firmware Driver.
I am not going to talk about installing each of the above components since there is information about installing each of the components in their corresponding documentation pages.
 By default, RaspAP supports wifi repeater mode (both in the community edition + insider edition) as long as you have two physical adaptors with two separate interfaces. But the interesting thing is that BE200 supports multiple bands and multiple channels. This means we should be able to create multiple interfaces in theory. This is where I had to do several experiments to figure out the components.
Virtual wlan Interfaces
This process elaborates on the process of creating the virtual WLAN interface. I am giving the name wlan0_ap for this interface. You can create the interface with the following command.
sudo iw dev wlan0 interface add wlan0_ap type managed
You can check whether the new interface is available with the ifconfig command. Next, we have to set a static IP for the interface. You can use your favorite private network IP for this.
sudo ip addr add 10.4.141.1/24 dev wlan0_ap
sudo ip link set wlan0_ap up
You can verify the assignment of IP with the following command
ip addr show wlan0_ap
Next, we have to restart the socket related to the iwlan0.
#reinitialize socket
sudo wpa_supplicant -B -Dnl80211,wext -c/etc/wpa_supplicant/wpa_supplicant.conf -iwlan0
To make the interface available permanently, create a file /etc/systemd/system/wifiap-setup.service and place the following components inside the file.
[Unit]
Description=Setup wlan0_ap and wpa_supplicant on boot
After=network.target

[Service]
Type=oneshot
ExecStart=/usr/sbin/iw dev wlan0 interface add wlan0_ap type managed
ExecStart=/usr/sbin/wpa_supplicant -B -Dnl80211,wext -c/etc/wpa_supplicant/wpa_supplicant.conf -iwlan0
RemainAfterExit=yes

[Install]
WantedBy=multi-user.target
Next, we have to reload systemd, enable, and start the service with the following commands.
sudo systemctl daemon-reload
sudo systemctl enable wifiap-setup
sudo systemctl start wifiap-setup
Hotspot and Configuring DHCP
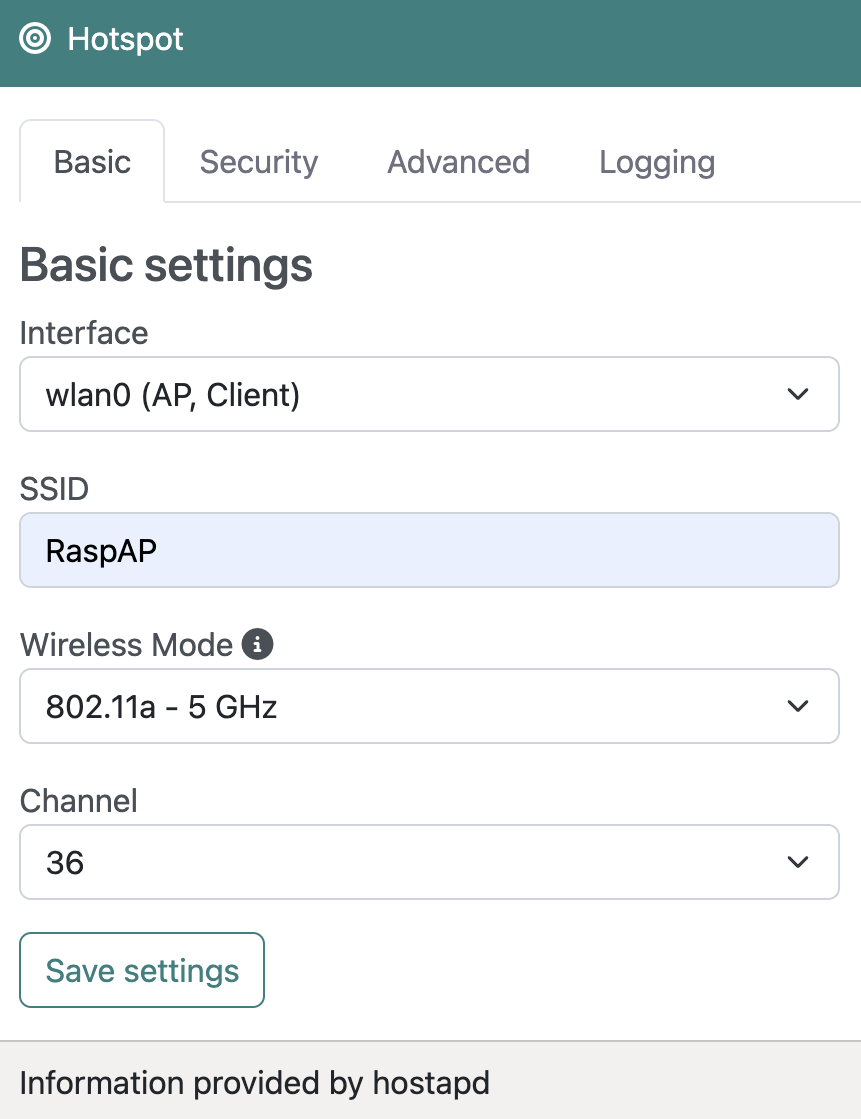
 Once you have the interface up and running, you can use the newly created interface as the access point. To do that, login to the RaspAP admin panel and use the Hotspot tab. Select the newly created
 wlan0_ap interface. Configure the rest of the settings to your liking. After saving the settings and restarting the AP, you will see the SSID of your network. If you try to connect, it will fail due to an invalid (unavailable) DHCP.
Let’s configure the DHCP for the interface. Go to the DHCP server tab from the RaspAP admin panel. Remember the static IP (10.4.141.1 in my case) used during the creation of the wlan0_ap interface. Based on that, we have to create the DHCP settings.
Addendum: One of the main issues with the BE200 on Raspberry Pi is that recent Raspberry Pi OS releases either fail to support the card altogether or only allow AP mode on the 2.4 GHz band. After further testing, I found that 5 GHz AP mode works when using Raspberry Pi OS Lite 64-bit 2025-05-13 together with the BE200 driver pinned to commit 1a1470d (via
rpi-be200commit2214bb7). If you’re unable to start a 5 GHz access point despite the card being detected, check the comment section for the exact OS version, driver commit, installation steps, and verification output. Once you are in this version you can follow the rest of the steps to configure the router. Note: This workaround requires using an older Raspberry Pi OS image, which may not contain the latest security updates, bug fixes, and package versions. Use it with appropriate caution.
Conclusion
At the end, Routour🗼 has been a rewarding project. I hope this documentation helps others who are interested in building their own custom router.